
Are you looking for an easy way to make your karaoke experience more fun and exciting? One of the best ways to do this is by connecting a wireless microphone to your karaoke system. With a wireless microphone, you can move around freely without having to worry about getting tangled up in cords or tripping over wires. Plus, it adds a whole new level of energy and excitement that will keep everyone singing along all night long!
In this article, we will discuss how to connect an external microphone to your karaoke system so that you can take full advantage of its features. So, let’s get started and learn how easy it is to enjoy the freedom and convenience of using a lavalier mic for mobile phone for your next jam session!
What Is Wireless Microphone?
A digital wireless microphone is a device that allows you to pick up sound waves in the air without the use of a cord or cable. It works by transmitting an audio signal from the microphone to your karaoke system, allowing you to move freely while singing along and still hear yourself clearly.
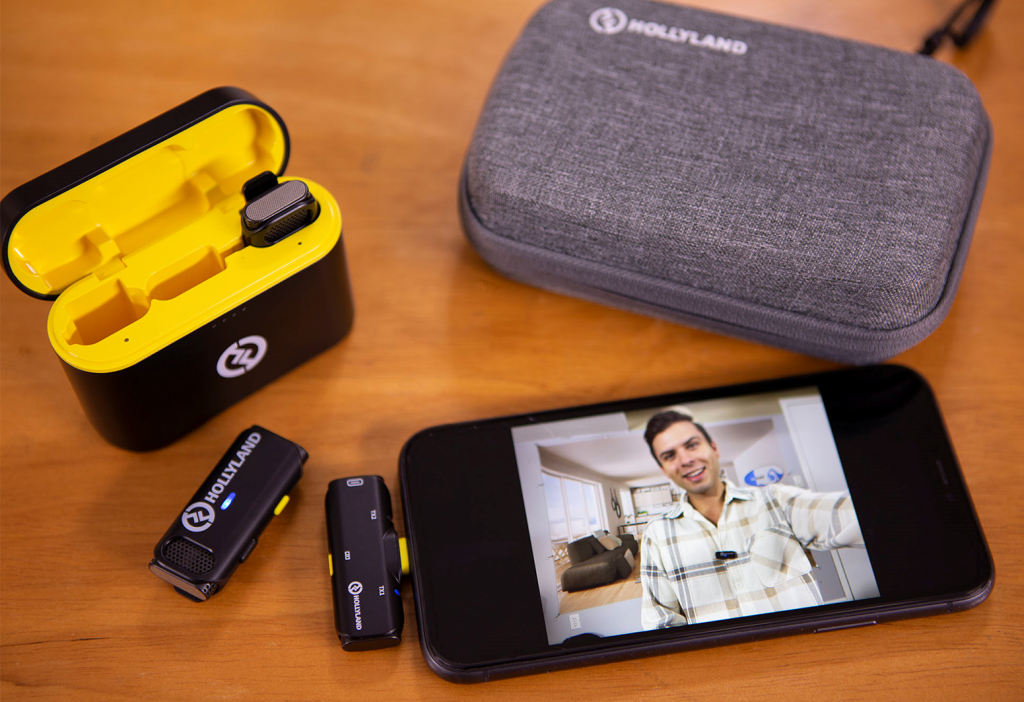
For instance, the Lark C1 lavalier mic for iPhone is a very popular choice for those looking to add some style and flair to their karaoke setup. It features two channels, allowing you to connect two microphones at once, which can create an awesome chorus effect! Also, the Hollyland Lark C1 has an impressive LOS range of up to 200 meters and is compatible with almost any karaoke system.
Now that you know the basics, let’s move on to connecting the microphone.
1. Power on Karaoke System
The first step in connecting a wireless mic for Android to a karaoke system is to power on the system. This requires plugging in the AC adapter and turning on the switch or pressing the power button. While the system is powering up, make sure that the wireless microphone has been charged.
2. Connecting Receiver to Karaoke System
A wireless receiver, which can be purchased separately, needs to be connected to the karaoke system for it to recognize and properly sync with the microphone signal. To do this, locate the appropriate audio output connection on the receiver and plug it into either an RCA input or a 3.5mm aux input on your karaoke machine.
When connecting the receiver to the karaoke system, make sure that both devices are turned off. If not, it can interfere with the connection process or even damage either one of them. And don’t forget to turn the volume up on your receiver, or else you won’t be able to hear any sound!
3. Setting Wireless Frequency
Before syncing up your microphone with the receiver, you need to make sure that both are using compatible frequencies. This can be accomplished by setting each of them at a matching frequency; typically, this will be listed as “Channel” or “Frequency”. Make sure that the transmitter and receiver are both set at the same frequency before proceeding with setup.
In addition to this, it’s important to note that the wireless microphone you are using must be compatible with your karaoke system. If not, then you will run into a lot of technical difficulties and might even need to get a new device altogether.
4. Turn on the Transmitter and Microphone
Once you have established a compatible frequency between your transmitter and receiver, turn on both simultaneously by pressing their respective “power” buttons or switches. If they are not already synced up, they should quickly establish a connection, indicated by a green LED light on each device once connected successfully.
From here, all you have to do is grab your microphone and start singing! With a wireless microphone connected to your karaoke system, you can now move freely without having to worry about cords or wires getting in the way. Enjoy the freedom of not being tethered down, and get ready for some great times ahead!
5. Test the Microphone
After powering on both devices and establishing a connection between them, test out your microphone by speaking into it and checking that sound is coming out of your karaoke machine’s speakers accordingly.
If everything appears to be working properly, you can move on to adjusting volume levels via either manual controls or through software settings depending upon your particular model of karaoke machine/receiver combination.
6. Adjust Volume Levels
To adjust volume levels using manual methods such as dials or knobs directly on either device (transmitter/receiver or karaoke machine) simply turn these clockwise for increased volume and counterclockwise for decreased volume – until the desired sound is achieved from speakers accordingly.
Alternatively, if available, you may also utilize software settings such as those found in many modern receivers/mixers, which allow for digital adjustment of specific channels, including microphone inputs as well as pre-set equalizer profiles meant for optimizing vocal clarity in karaoke systems specifically.
7. Fine Tune Vocal Quality
As well as adjusting direct sound levels via software control panels – you may also wish to fine-tune vocal quality further still based on individual preferences (such as echo effects, etc.). To do so – simply utilize additional controls within each device’s menu system (or mixer panel) tailored specifically toward voice optimization.
Some models even offer advanced automated features designed around enhancing vocals specifically, such as noise cancellation – which helps to reduce background noise interference when singing into microphones.
8. Troubleshooting Signal Interference
If there are any problems with using the device (like signal interference that causes audio drops), try reducing the distance between the transmitter and receiver devices. Also, make sure there are no obstacles in the way that could disrupt reception quality.
Moreover, if you want to improve the overall signal strength stability when using wireless microphones with karaoke systems, try minimizing the usage of electrical appliances nearby which emit radio waves themselves.
Conclusion
Connecting a built-in microphone to your karaoke system is quick and easy – as long as you ensure the compatible frequency has been matched, then all that’s left to do is plug it in and start singing!
With a few minor adjustments along the way, such as adjusting volume levels or fine-tuning vocal quality, you can enjoy an expanded range of flexibility and mobility when using wireless microphones with your karaoke system.
The Lark C1 mic has been designed specifically to work with the Karaoke system – making setup and pairing a breeze! Having a wireless microphone connected to your karaoke system means you no longer have to worry about cords or wires getting in the way – so grab a mic and start singing!
So don’t let wires get in your way; grab your mic and start singing today!
Happy karaoking!